在Android模擬器上安裝Android Scripting Environment (ASE):
- 使用包含有SD Card的AVD開啟Android模擬器. (參考: 如何在Eclipse創建Android Virtual Devices(AVDs))
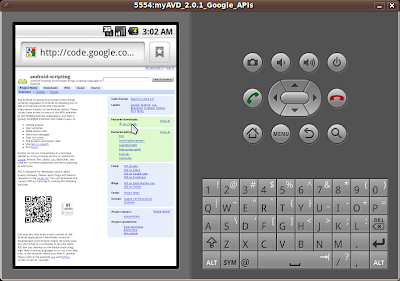
- 在Android模擬器的主屏幕上開啟Browser.
- 進入網站http://code.google.com/p/android-scripting/, 點擊右邊ase_r15.apk鏈結, 並下載. (或直接進入http://android-scripting.googlecode.com/files/ase_r15.apk下載)

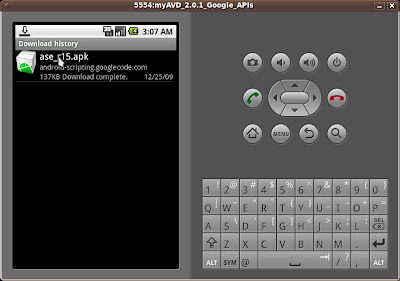
- 點擊下載了的檔案, ase_r15.apk.

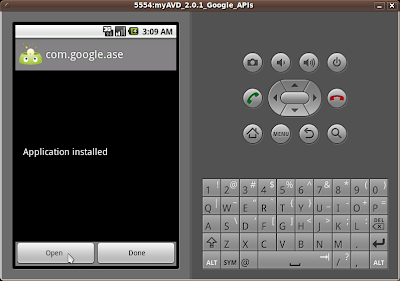
- 點擊Install.

- 點擊Open

- 點擊接受或拒絕

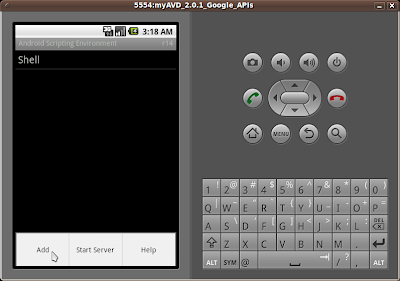
- 按MENU鍵, 選擇Interpreters.

- 再按MENU鍵, 選擇Add.

- 選擇Python 2.6.2 (作為一個例子)


- Python已經安裝完成了.

在下一篇文章, Android上的Python, 我將演示使用Python編寫一個腳本語言的小程序.
沒有留言:
發佈留言